
Sports Podcast Audio Loudness: Check Voices, Peaks, and the Final Export
A sports podcast can move from a quiet interview to a full stadium in one edit. Before release, check whether listeners can follow the next sentence…
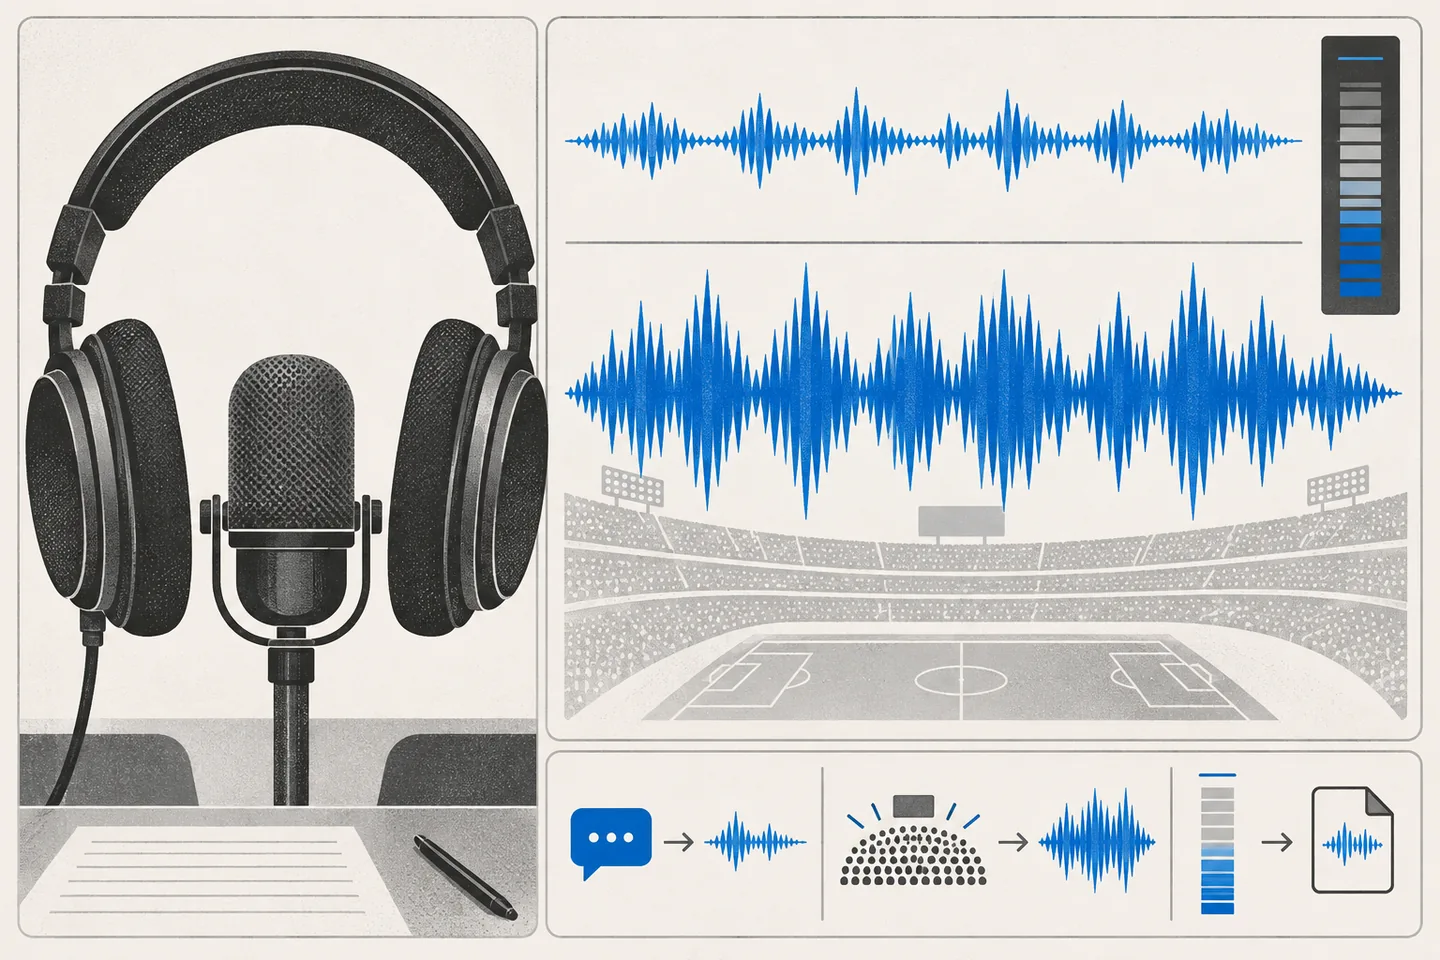
A sports podcast can move from a quiet interview to a full stadium in one edit. Before release, check whether listeners can follow the next sentence without changing the volume. Measure the finished mix, then listen where speech, music and crowd sound compete. This check concerns the file the audience will receive, after the episode has been edited.
Know what each meter tells you
A peak meter shows how high the signal reaches at an instant. It can flag a whistle, shout or abrupt edit, but cannot tell you whether an episode feels comfortably loud. Two passages can reach the same peak while one sounds much quieter because its voice stays at a lower level.
Integrated loudness describes the level across a measured programme. It is reported in LUFS or LKFS, equivalent names for the loudness unit used here. The European Broadcasting Union’s loudness guidance distinguishes the integrated reading, taken from start to stop, from shorter measurements that show changes within a programme. Measure the complete mix rather than assuming one lively excerpt represents the episode.
True peak checks the loudest instants with a different measure. A sample-peak meter can miss a peak between digital samples. The EBU’s production guidelines explain the distinction and the value of true-peak measurement. Suitable integrated loudness does not rule out a troublesome instant at a crowd cut or shouted introduction. Neither reading establishes whether a guest remains intelligible beneath music or stadium sound; listen to that passage.
Choose the delivery specification
For Apple Podcasts, Apple recommends overall loudness around −16 dB LKFS, with a tolerance of ±1 dB, and a true-peak value no higher than −1 dBFS. It says to prepare those levels before encoding, since compression may clip a signal without enough headroom. These are Apple’s podcast recommendations, not a universal target. Confirm the requirements for the actual delivery route before setting the final level.
Use a meter that reports integrated loudness and true peak, and note both results for the complete mix. If integrated loudness misses the chosen target, adjust the mix or final level and measure again. If true peak exceeds the chosen ceiling, locate the offending sound, reduce it or control its peak, then repeat both measurements. Peak processing can change the loudness reading.
Check that the meter is reading the same start and end points as the exported episode. An old selection can produce a plausible number for a single scene while missing a quieter interview or louder closing sting. If the episode contains silence before the introduction or after the ending, trim it as intended before measuring. Note which version of the mix was measured, so a later edit cannot be mistaken for the file that passed.
Do not set a target by looking at the waveform. A tall transient says little about the level of the conversation around it. Audacity’s Loudness Normalization guide explains how a LUFS target differs from its Amplify and peak Normalize effects. Loudness normalization can set an overall level; it cannot decide whether a crowd masks a guest’s answer.
Listen where the episode changes character
Start with a quiet dialogue passage, such as an athlete speaking after a match. At a comfortable, fixed playback volume, check whether consonants, names and sentence endings remain clear. If they do not, inspect that passage in the mix. Raising the entire episode may make the already-loud sections excessive.
Play the busiest crowd passage at the same volume. Check where it begins and ends, any speech over it, and the host’s first words afterwards. The crowd can retain its impact while a short fade or lower bed makes the return to speech easier to follow. Do not force every sound towards the same level: the difference between an interview and a match is part of the episode.
If one guest is difficult to understand, compare that voice with the host in a passage without music. This helps separate a low voice level from masking by the background. Adjust the guest passage or the sound beneath it, then replay the handoff into the next speaker. Check more than the loudest word: a quick peak can look prominent on a meter while the rest of the sentence remains too quiet. If the problem occurs only when the crowd enters, work on that overlap rather than changing the whole interview.
Listen to the intro, outro and several seconds on either side of each major transition. A music sting may feel too strong before a restrained interview, while an introduction can disappear after an energetic clip. Integrated loudness averages over these changes; a single jarring cut needs a local fix. Repeat the listening check on ordinary speakers or headphones at a modest, unchanged volume. This test shows whether the level differences work in practice.
Control peaks without flattening the mix
A limiter can restrain an occasional shout or crowd transient above the chosen ceiling. It cannot repair a guest mixed too low throughout an interview. If it works hard through every cheer, lower the crowd clip or revise the transition first. Listen after processing for pumping, a dull crowd sound, changed speech or a swell when the limiter releases. Remeasure integrated loudness and true peak after each adjustment.
Use the meter to find the time of the highest peak, then listen around it before choosing a fix. A single whistle may need a small clip-level change; repeated peaks across a crowd recording may call for a broader mix adjustment. After reducing a peak, replay the surrounding seconds to ensure the change has not made a conspicuous dip. The aim is enough headroom for the delivery file while keeping the contrast that makes the scene understandable.
Keep a short note of the target, the two measured results and any passage that needed attention. It helps you check a later revision against the version you approved. If a revision changes a clip, transition or final processing, check the full mix again rather than relying on the earlier figures.
Check the actual export
Choose mono or stereo deliberately. A speech-led show may not need a wide stereo field; an episode with spatial crowd sound may depend on it. Check that a mono version retains speech and ambience, or that a stereo version has the intended left-right balance. Apple accepts mono and stereo MP3 for Apple Podcasts Connect, but specifies two channels for WAV and FLAC there. Its separate RSS guidance covers MP3 and AAC. Confirm the file type, channel count, sample rate and bitrate for your delivery route.
Open the encoded file outside the editing session. Confirm its duration, then play the beginning, a quiet interview, the loudest crowd section, important transitions and the ending. Listen for clipping, clicks, missing channels, altered balance and encoding artifacts. Compare it with the approved mix at the same listening volume. If speech or atmosphere has changed, correct the cause and export again; inspect the new file rather than relying on the session master.
Check the filename and playback duration against the intended episode, especially if several drafts have been exported. A file that opens successfully may still contain the wrong edit, a cut-off ending or an old mix. If you make a new export, replace the release candidate clearly and run the same checks on that file. Keep the measured version and the delivered version aligned; changing the encoder settings or channels after approval deserves another listen.
Before release, confirm:
- Quiet dialogue is clear without increasing the playback volume.
- Music, crowd clips and returns to speech play smoothly.
- The full mix meets its chosen integrated-loudness target and true-peak ceiling.
- Peak control has not introduced audible distortion or unwanted changes.
- The encoded file has the intended format and channels, opens correctly and plays through to the end.